
A new printer should make life easier, not turn a simple job into an afternoon of error messages. Whether it is for school forms at home, invoices in a home office or everyday paperwork in a small business, knowing how to set up a printer properly from the start saves a great deal of frustration later.
Most modern printers can connect by Wi-Fi, USB cable or Ethernet cable. The best choice depends on where the printer will sit, how many people need to use it and how reliable your internet connection is. Start with the basics, take the setup one step at a time, and avoid changing several settings at once if something does not work.
Before you set up a printer
Choose a sensible spot before taking the printer out of the box. It needs a flat, stable surface with room for paper trays, ink or toner access, and ventilation. Avoid placing it in direct sun, near a damp window or somewhere it will be regularly bumped.
Check that your home or office Wi-Fi reaches that location. A printer can show a strong connection during setup but struggle later if it is at the edge of the wireless signal. If the signal is poor, moving the printer, improving Wi-Fi coverage or using a wired connection may be more dependable than repeatedly reconnecting it.
Have the printer model, Wi-Fi password and a computer or mobile ready before you begin. If you are replacing an old printer, remove or switch off the old device first where possible. This helps prevent the computer from sending jobs to the wrong printer.
Before turning it on, remove every piece of orange tape, transport lock and packing material. Open the scanner lid, paper trays and cartridge area to check for hidden packaging. Missing one small strip can cause a paper jam or stop the cartridges from moving correctly.
How to set up a printer for the first time
Connect the power cable directly to a wall outlet or a quality surge-protected power board, then turn the printer on. Follow the instructions on its display to choose language, region and date settings if prompted. Install the supplied ink cartridges or toner cartridges carefully, using the correct colour and slot.
Inkjet printers often need a few minutes to prepare the ink system. Laser printers may ask you to remove sealing tape from the toner cartridge before installation. Do not force cartridges into place. If one will not click in, check the label and look again for protective packaging.
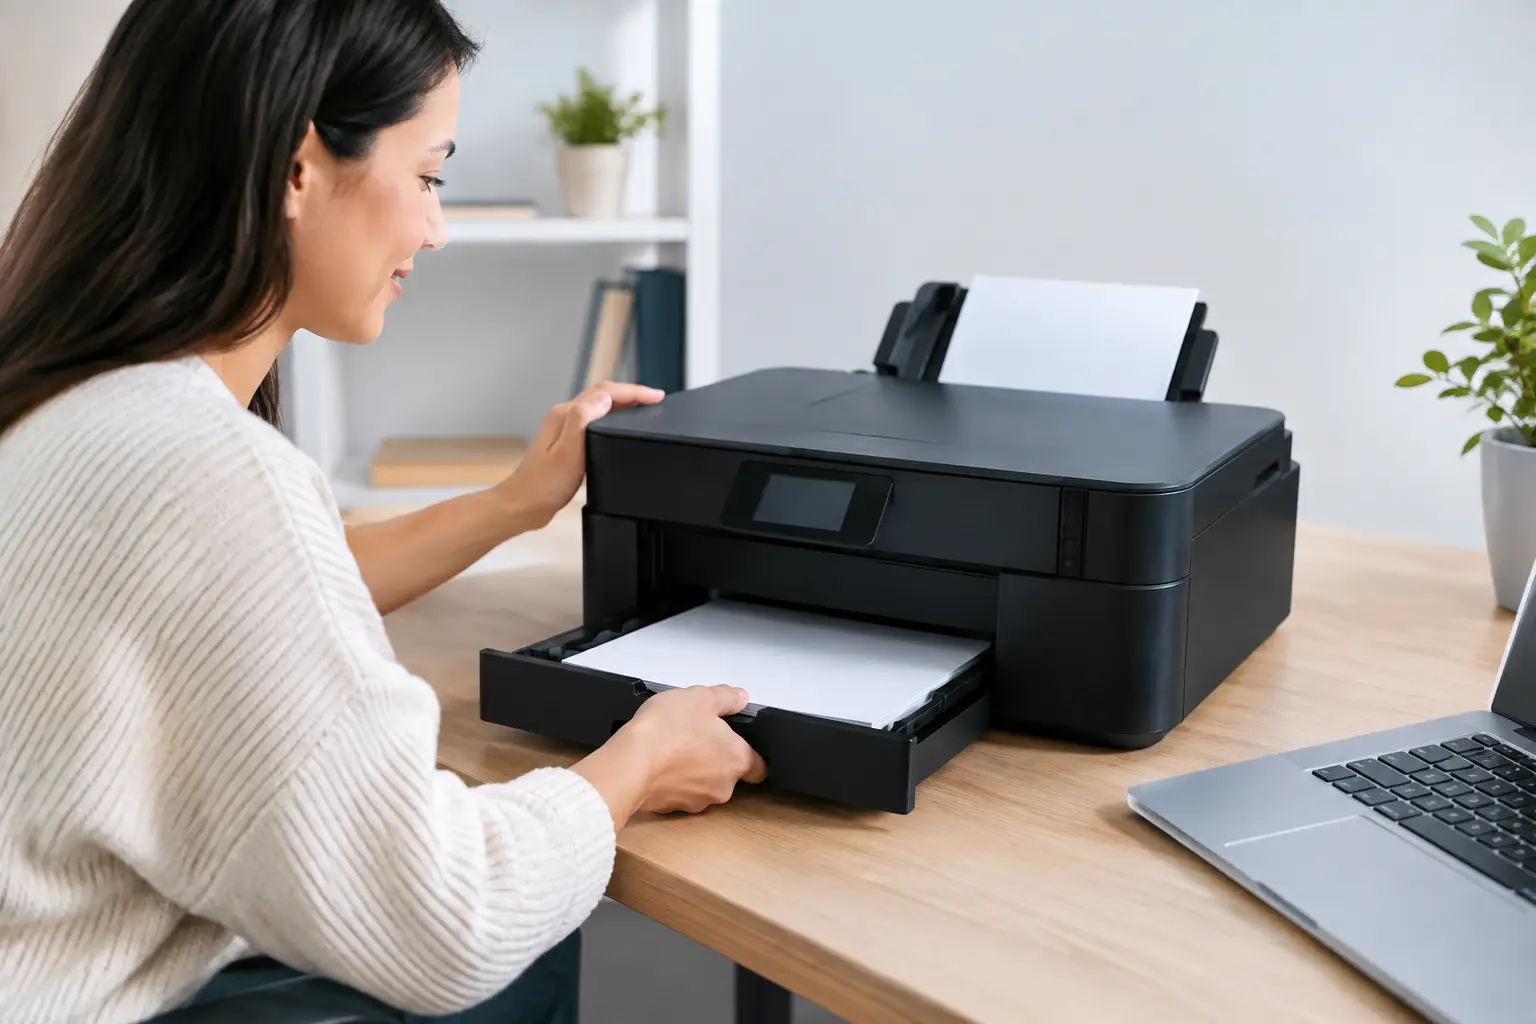
Load plain A4 paper into the main tray. Adjust the paper guides so they sit lightly against the paper without bending it. Paper that is too loose can feed crookedly, while guides that are too tight can cause a jam.
Many new printers print an alignment or calibration page at this point. Let this finish before trying to print from a computer. It may seem like an extra step, but alignment improves text clarity and print quality, particularly on inkjet models.
Connecting by Wi-Fi
Wi-Fi is usually the most convenient option for households and smaller offices because multiple computers, tablets and mobiles can use the same printer. The setup method varies by model, but the general process is similar.
From the printer screen or control panel, open the wireless or network settings and select your Wi-Fi network. Enter the password carefully, including capitals, numbers and special characters. Once connected, the printer may display a Wi-Fi symbol, an IP address or a confirmation message.
Some printers use a companion setup app instead. In that case, install the manufacturer’s app on your computer or mobile, then follow its prompts to add the printer to the network. Keep the mobile or computer connected to the same Wi-Fi network during this process.
Watch for 2.4 GHz and 5 GHz Wi-Fi
A common setup issue is that many printers only support 2.4 GHz Wi-Fi, while a newer computer or mobile may be using 5 GHz. These are two different wireless bands. Your printer may not appear during setup if the network is configured in a way it cannot use.
Many routers manage both bands under one network name, which often works without any extra effort. If it does not, check the router settings or temporarily connect your mobile to the 2.4 GHz network while setting up the printer. Older printers may also have trouble with advanced Wi-Fi security settings, so it is worth checking the printer manual before assuming the printer is faulty.
WPS can be quick, but it is not always available
If both your router and printer support WPS, you may be able to press the WPS button on the router and then start WPS setup on the printer. This avoids typing the password. It is handy for a straightforward home installation, although many newer routers have WPS disabled for security reasons. In that case, use the normal network password method instead.
Connecting with USB or Ethernet
A USB connection is often the simplest choice when one computer is using the printer and it is positioned nearby. Plug the USB cable into the printer and computer only when the setup instructions request it. Connecting it too early can sometimes cause Windows to install a basic driver rather than the full software.
An Ethernet connection uses a network cable between the printer and router, switch or network wall point. It is a strong option for a business printer that stays in one location and is shared by several staff members. Ethernet is generally more stable than Wi-Fi, especially in larger buildings, sheds or offices with thick walls.
The trade-off is less flexibility. Once connected by cable, the printer needs to remain close enough to the network point. For many small businesses, that reliability is worth it.
Install the right printer software
Your computer may automatically find a printer, especially on Windows 11, but automatic setup does not always install every feature. Scanning, double-sided printing, ink monitoring and paper-size options may need the full manufacturer software or driver.
On a Windows computer, open Settings, then Bluetooth & devices, followed by Printers & scanners. Choose Add device and select your printer when it appears. If it is not listed, make sure the printer is on, connected to the same network and not showing an error on its screen.
Mac users can open System Settings, select Printers & Scanners and add the printer from there. Most current models will be detected automatically, though some multifunction printers still benefit from the manufacturer’s software for scanning functions.
Once installed, set the printer as the default only if it will be your main printer. This prevents documents from accidentally going to another device, such as an old printer entry that is no longer in use.
Print a test page before you need it
Do not wait until an urgent document needs printing to find out there is a problem. Print a test page, then check that text is clear, colours look right and the paper feeds correctly. If your printer includes a scanner, scan one page to confirm that function is working too.
For home use, it is also worth trying a print from the mobile or tablet that will use the printer most often. Mobile printing can require its own setting or app, even when printing from a computer is already working.
For a small business, test each staff computer that needs access. Give the printer a clear name, such as “Front Office Printer” or “Workshop Laser Printer”, rather than leaving it with a confusing model number. A clear name reduces mistakes when several printers are available.
Common printer setup problems
If a printer will not connect, start with the simple checks. Confirm it has power, paper and no warning lights. Restart the printer, computer and router, then try again. A restart clears many temporary connection issues without changing any settings.
When the printer is connected but jobs remain stuck in the queue, check that the correct printer is selected and that it is not marked as offline. Cancel any stalled print jobs, then send one small test document. Large PDFs or colour images can take longer than expected, particularly over weaker Wi-Fi.
Poor print quality may be caused by low ink, blocked print heads, incorrect paper settings or cartridges that are not seated correctly. Use the printer’s maintenance menu to run a nozzle check or print-head clean if required. Avoid running cleaning cycles repeatedly, as they use a noticeable amount of ink.
Paper jams are usually caused by damaged paper, an overfilled tray or small scraps left inside the paper path. Turn the printer off, remove paper gently in the direction it normally travels, and check inside the rear access panel if your model has one. Do not pull hard, as this can damage rollers or leave torn paper behind.
When local help makes sense
Printer setup can become more involved when Wi-Fi is unreliable, a printer needs to be shared across several computers, or a business requires scanning to email or network folders. These jobs often involve router settings, user permissions and software configuration as well as the printer itself.
AllTec Computer Services can provide practical on-site assistance for homes and small businesses across Caboolture, Morayfield, Woodford, Wamuran, Moreton Bay and surrounding areas. A technician can set up the printer where it will actually be used, connect it to the right devices and make sure the basics work before leaving.
A printer is at its best when it quietly does its job in the background. Taking a little care with placement, network connection and testing now means the next time you need to print a form, invoice or school notice, it is ready to go.